Configure ADFS SSO with LCvista
LCvista supports SSO using the SAML 2.0 standard. This document walks through a standard configuration in ADFS 3.0. These steps will be similar in ADFS 2.0 but screenshots may not match exactly.
This guide assumes you have done the following steps:
- Installed ADFS
- Added SSL certificates to ADFS
- Configured ADFS for your domain
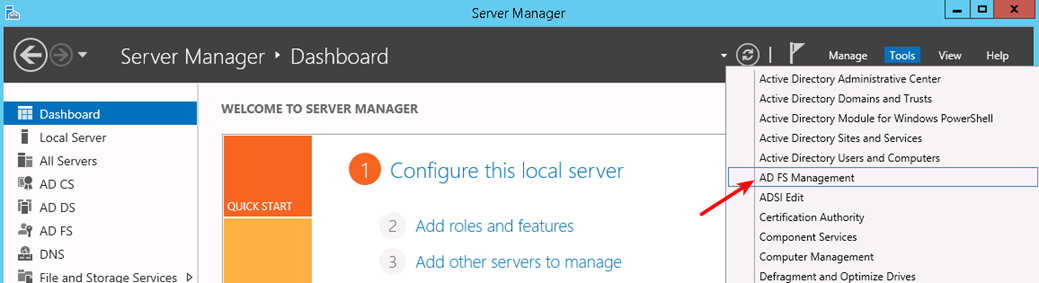
1. Confirm Active Directory is installed
- From the Server Manager Dashboard on your ADFS server, go to Tools and click on AD FS Management.
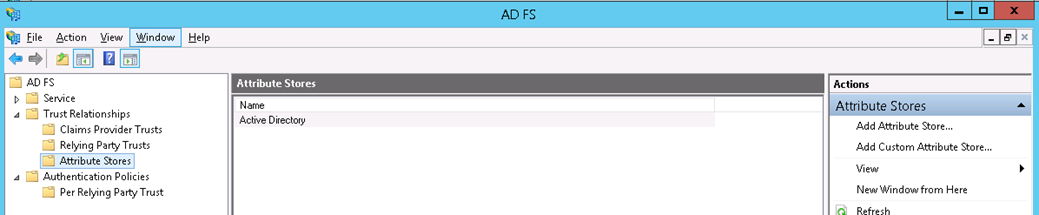
- Once launched, expand Trust Relationships and click on Attribute Stores and you should see “Active Directory” under the list.
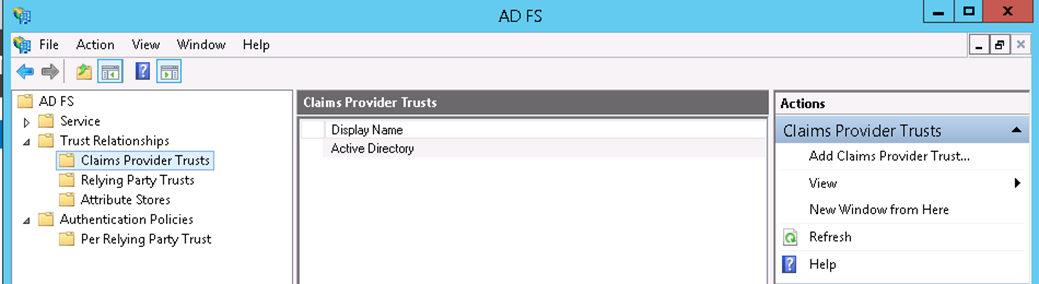
2. Confirm Active Directory is added to the Claims Provider Trusts
- In the ADFS Management Console, check on the Claims Provider Trusts and make sure AD is in the list:
3. Export the Token Signing ADFS Certificate
- You will upload this certificate when setting up ADFS as an Identity Provider and it will be used to sign SAML responses/requests.
- From the ADFS Management Console, expand Service, then click on Certificates.
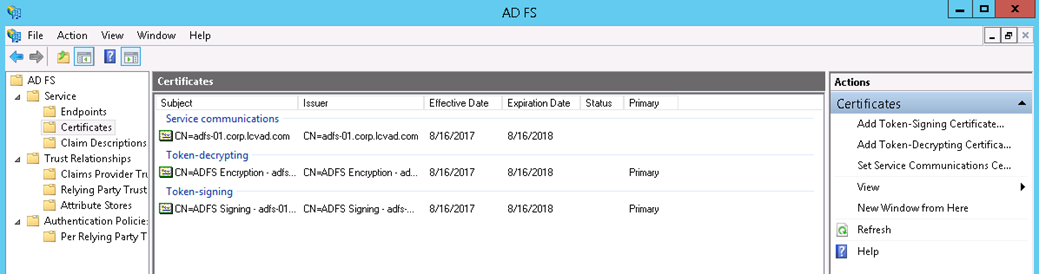
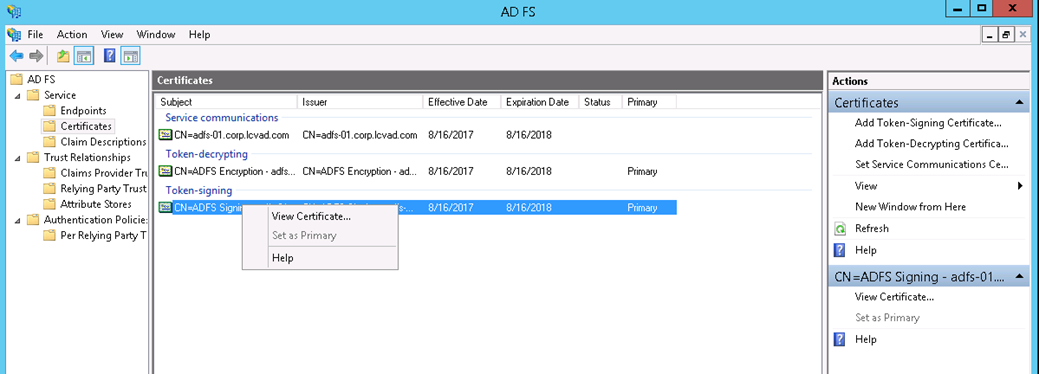
- Right click on the Token-Signing certificate and select View Certificate.
- Click on Details tab and click on Copy to File.
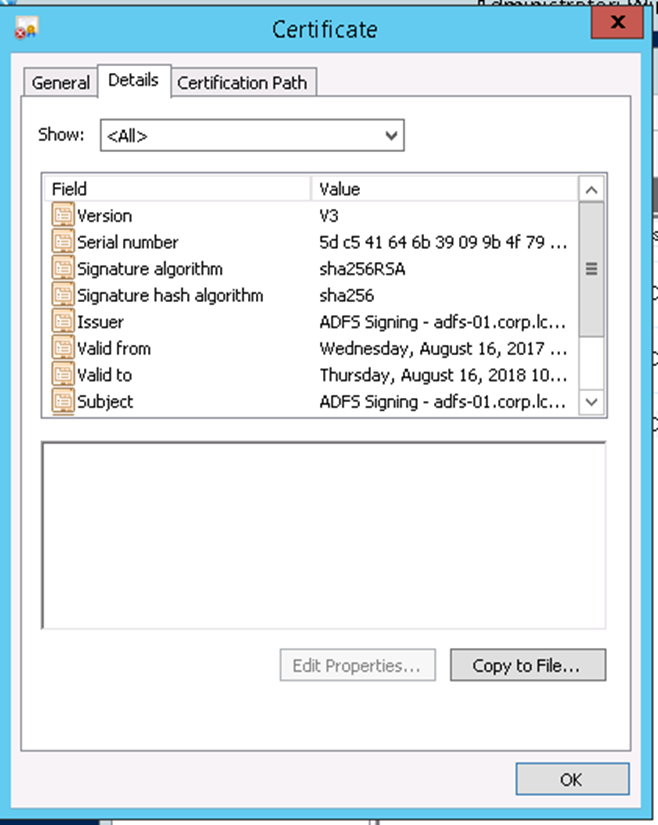
- A wizard will start.
- Click on Next and select the format to be Base-64 encoded X.509 (.CER).
- Follow the rest of the prompts to place the exported certificate on the Desktop.
- After exporting the certificate it needs to be converted to PEM format. You can do the conversion online at https://www.sslshopper.com/ssl-converter.html or use the openssl utility on a *nix machine.
- A properly converted certificate have “-----BEGIN CERTIFICATE-----” at the beginning of the file and “-----END CERTIFICATE-----” at end of file.
4. Add IDR to the ADFS Relying Party Trusts
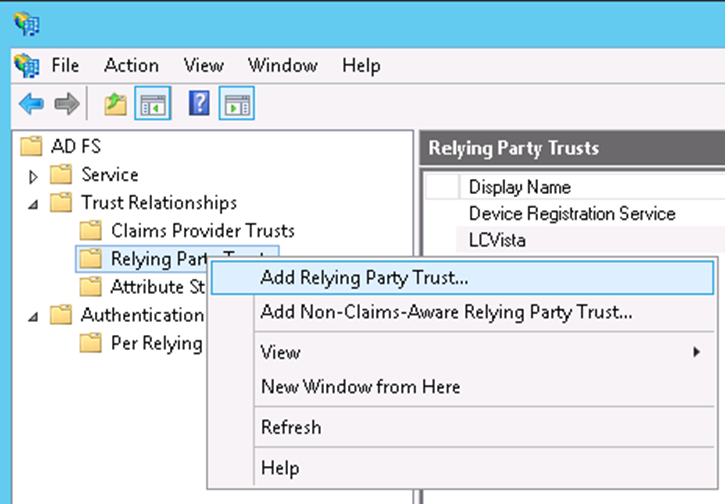
- From the ADFS Management Console, right click on Relying Party Trusts and select Add Relying Party Trust.
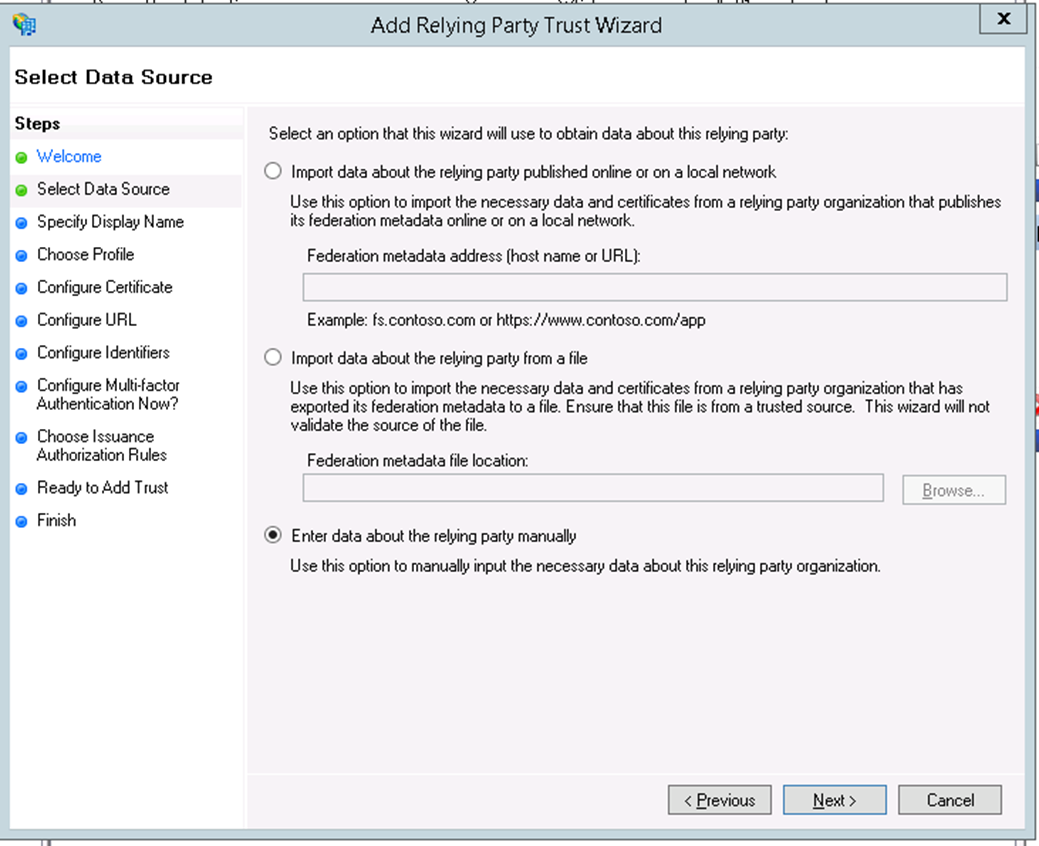
- You will see the Add Relying Party Trust Wizard. Click on Start to begin the wizard configuration and then select Enter data about the relying party manually.
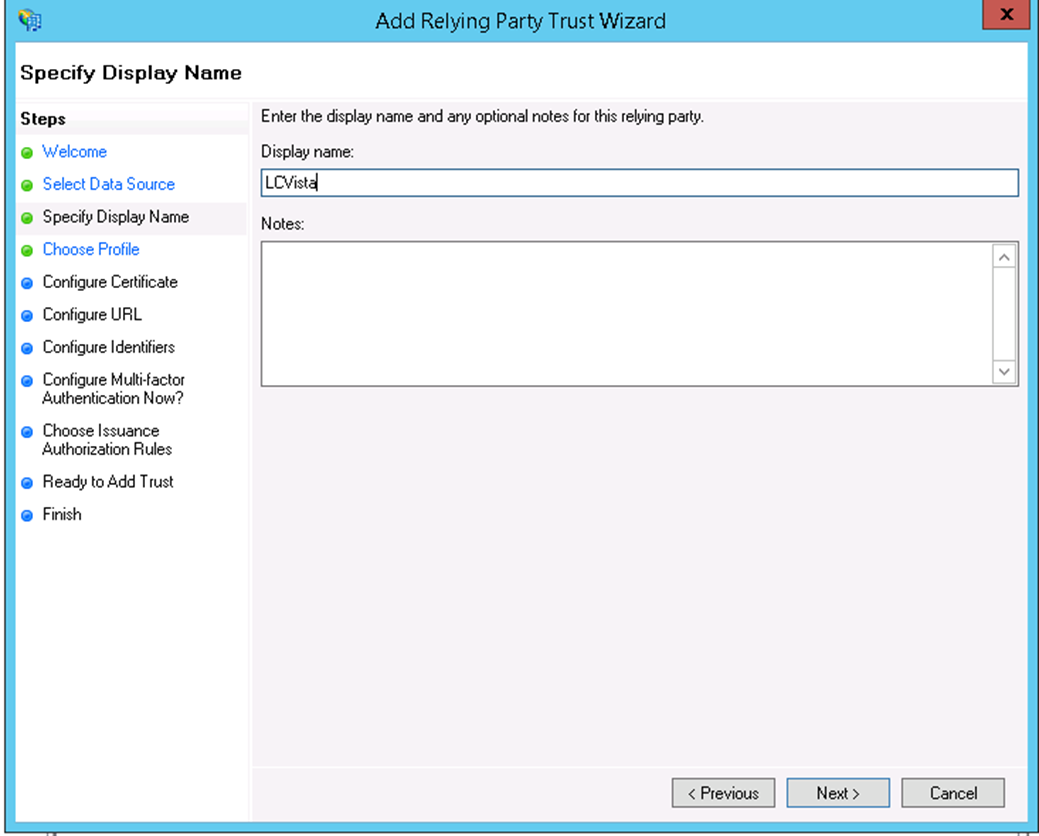
- Click Next, enter a desired and meaningful name (here we chose a name of LCvista), and click Next.
- On Choose Profile, select AD FS profile.

- Click Next, since we are going to use the Token-Signing Certificate from ADFS we won't need to upload a token encrypting certificate.
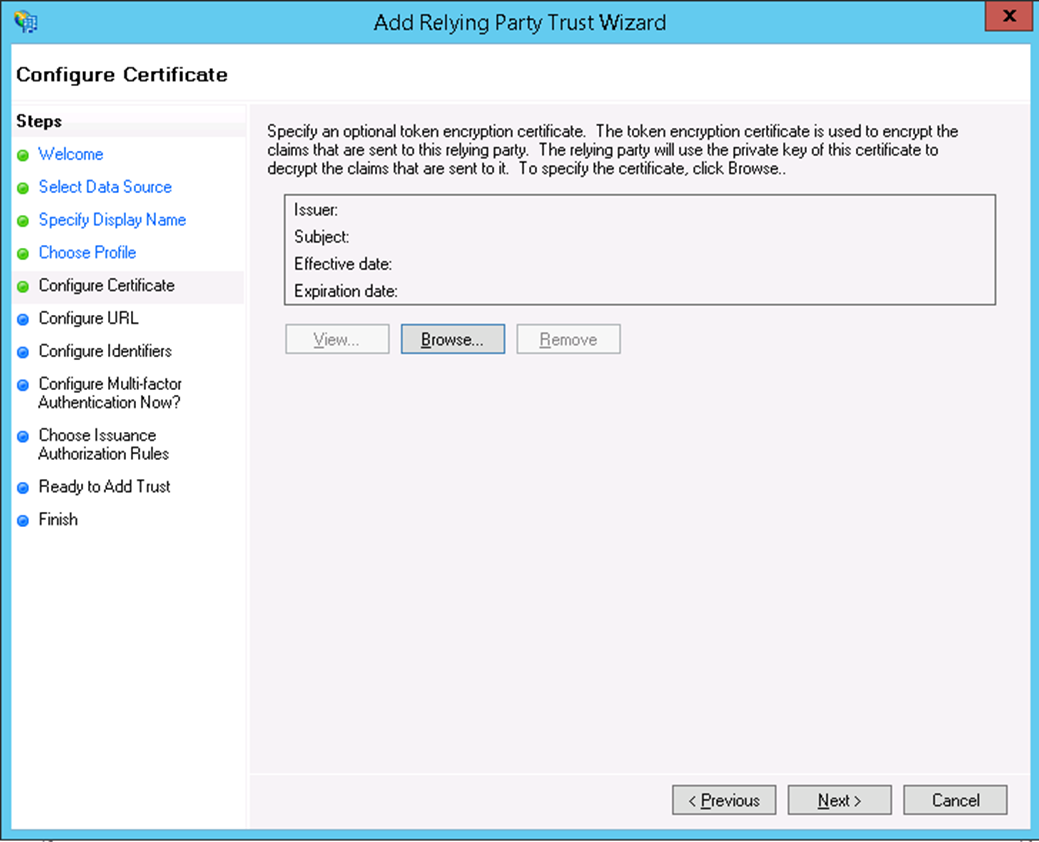
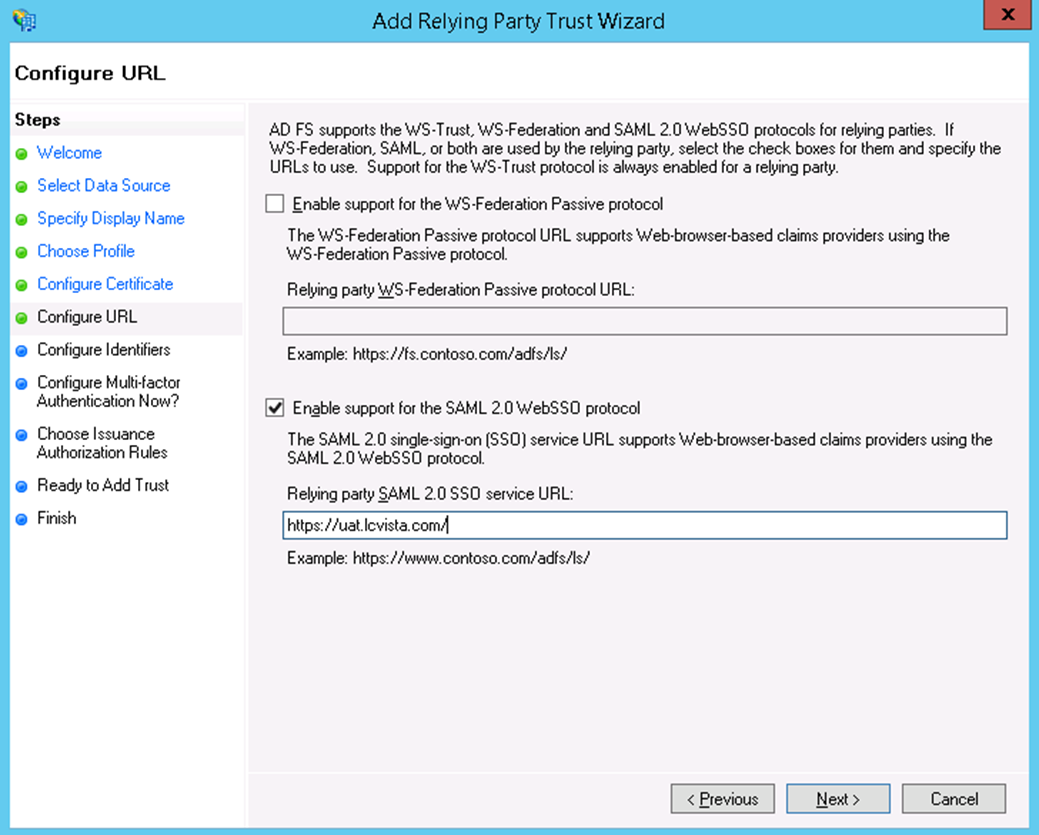
- On the Configure Certificate page, click Next. Then, select Enable support for the SAML 2.0 WebSSO protocol and enter the Relying party SAML 2.0 SSO service URL.
- For this URL it will be in the following format:
- Enter the following value for Relying party SAML 2.0 SSO service URL:
- https://<SITE PREFIX>.lcvista.com/
- In the example, we show https://uat.lcvista.com/
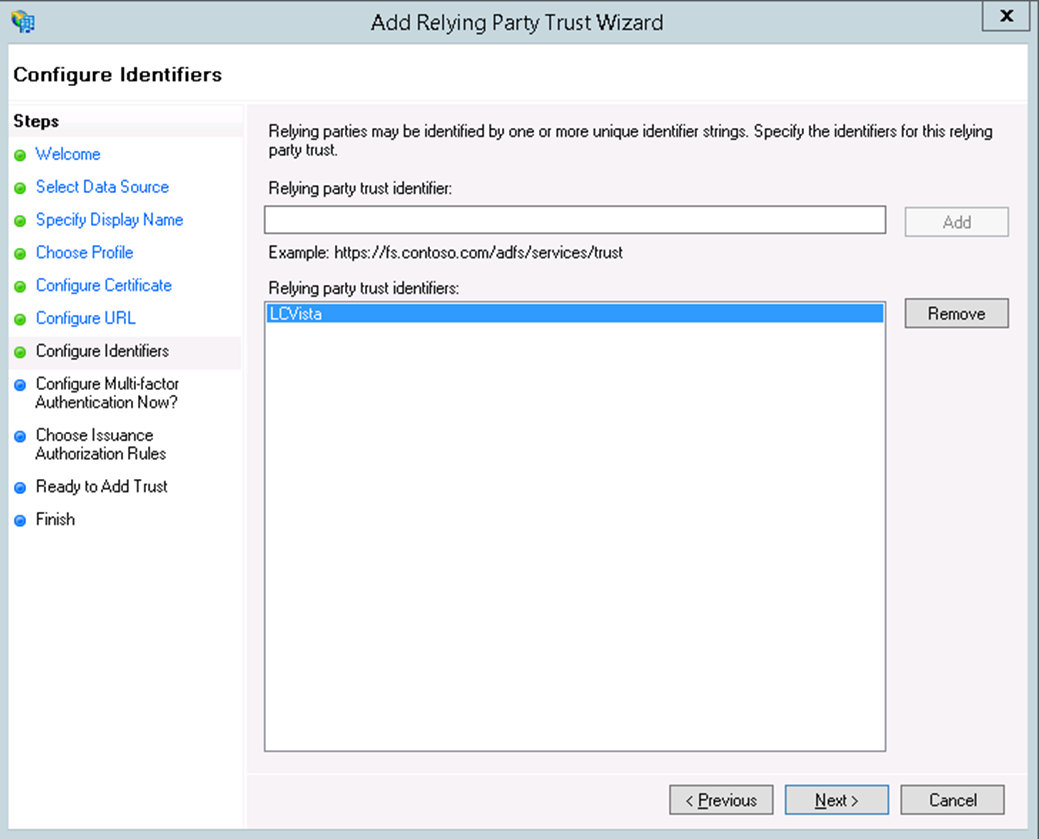
- Click Next. For the Relying party trust identifier, make sure this matches the IssuerID you specified in the SSO URL from the previous screen (we called it LCvista), then click Add.
- Accept the default on Configure Multi-factor Authentication Now?: I do not want to configure multi-factor authentication settings for this replying party trust at this time. Click Next.
- Accept the default on Choose Issuance Authorization Rules: Permit all users to access this relying party. Click Next.
- Click Next on the Ready to Add Trust summary page.
- On the last screen, click Next and make sure to keep the check on Open the Edit Claim Rules dialog for this relying party trust when the wizard closes.
- Add Claim Rules on the Edit Claim Rules dialog.
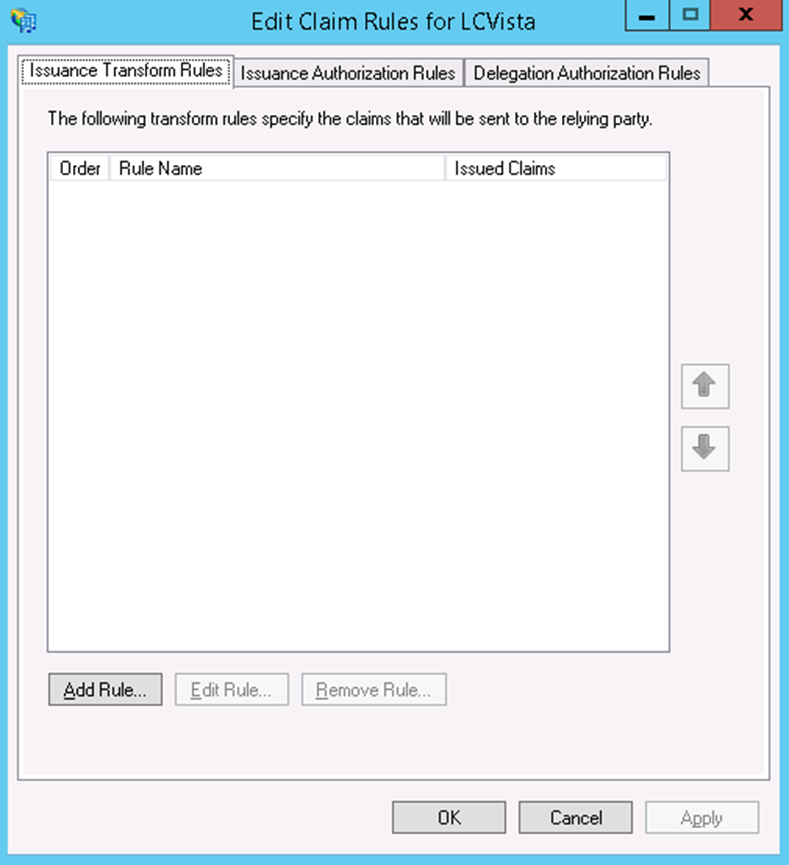
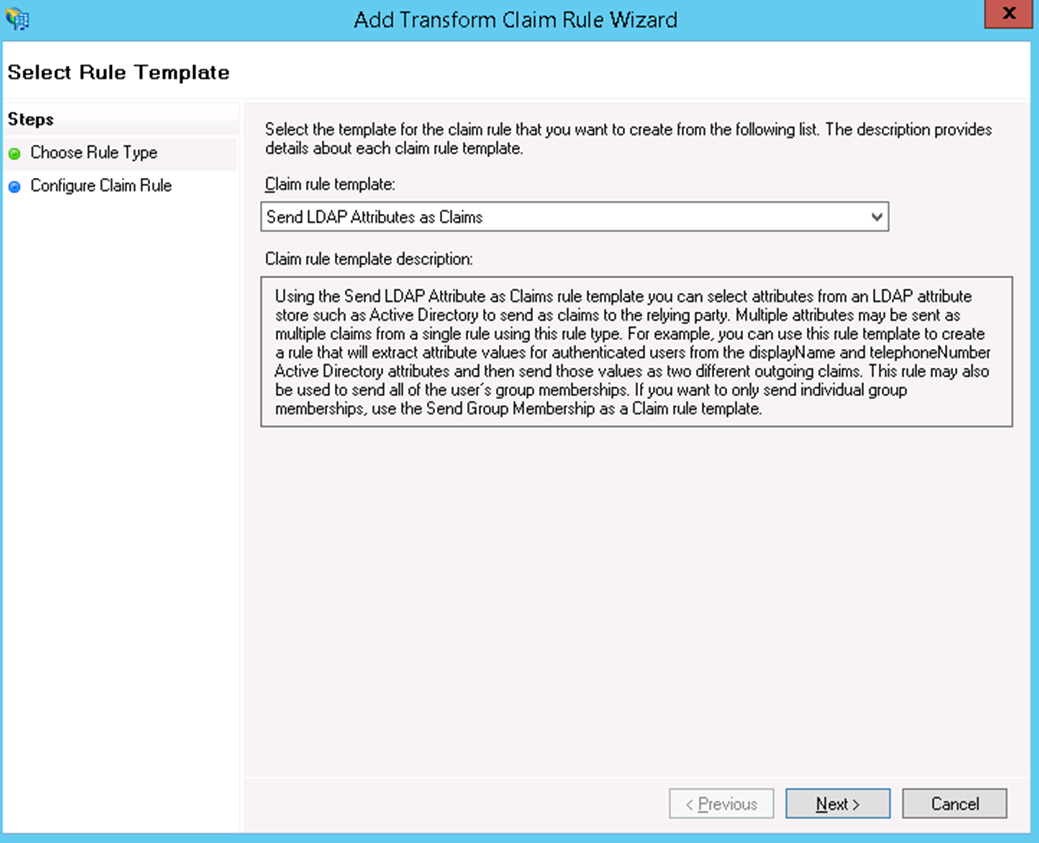
- Click Add Rule and make sure the Claim rule template has Send LDAP Attributes as Claims selected.
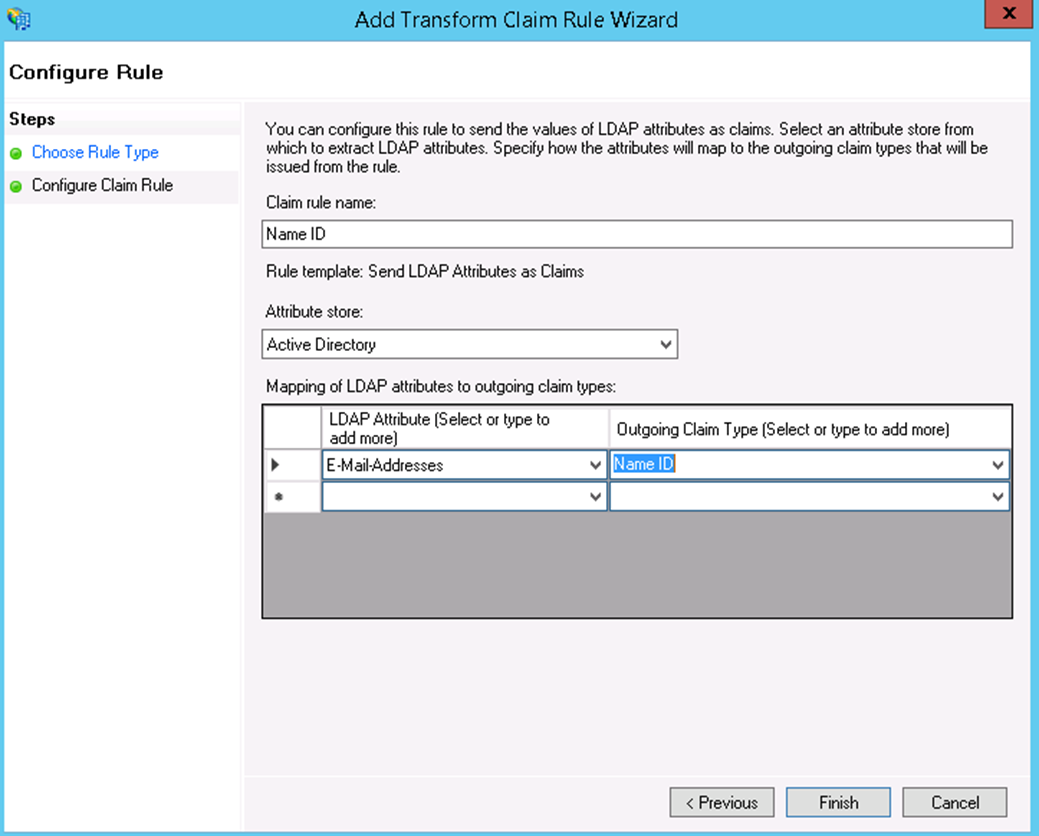
- Click Next. Give the Claim Rule a name, select the Attribute store to be our Active Directory. Then, for the LDAP Attribute select Email Addresses and for the Outgoing Claim Type select Name ID.
- Click Add Rule again and add a mapping for the following attributes that LCvista support:
- Email: E-mail-Addresses → E-mail Address
- First name: Given-Name → Given Name
- Last name: Surname → Surname

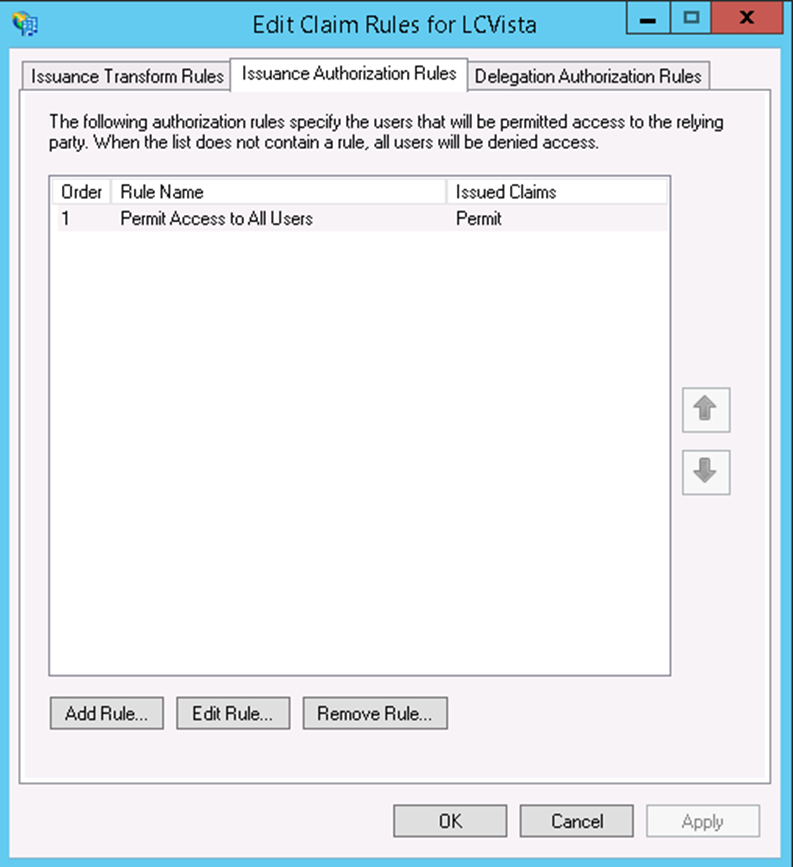
- Lastly make sure Permit Access to All Users is configured under the Issuance Authorization Rules tab is present.
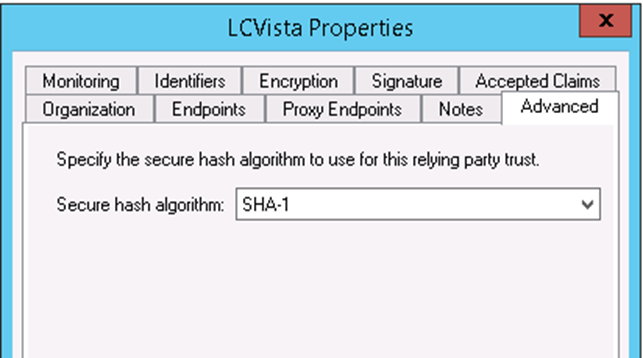
- The last thing to do is to make sure you use SHA-1 as our hashing algorithm. Right click on our Relying Party and select Properties.
5. Update the SAML Configuration in LCvista
- Login to LCvista as an administrator with access to the Organization menu.
- Select Settings within the Organizations menu.
- Select Enable SAML login.
- Copy the following values from ADFS into the LCvista SAML Config option:
- Entity ID: http://<URL for your ADFS service>/adfs/services/trust
- URL: https://<URL for your ADFS service>/adfs/ls/IDpInitiatedSignOn.aspx?loginToRp=LCVista
- x509 Certificate: Select the entire text between --BEGIN CERTIFICATE-- and --END CERTIFICATE-- in the PEM certificate.
- In LCvista, map the Attributes as defined in ADFS:
- First name: http://schemas.xmlsoap.org/ws/2005/05/identity/claims/givenname
- Last name: http://schemas.xmlsoap.org/ws/2005/05/identity/claims/surname
- Email: http://schemas.xmlsoap.org/ws/2005/05/identity/claims/emailaddress
- Username: name_id
Note: The only required mapping is Username. All other mappings are optional and can be set to “-” in LCvista. If First name, Last name and Email attributes are mapped, then these values will be updated in LCvista to the value in ADFS.
- Click Save on the LCvista Organization page.
6. Test Authentication
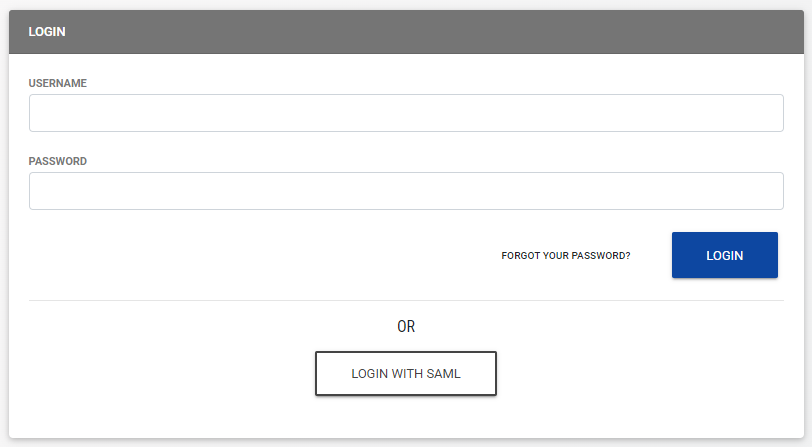
- Navigate to your site's login page at https://<SITE PREFIX>.LCvista.com/<SITE PREFIX>/login/ and select Login with SAML.