Configuring RSA SSO with LCvista
These steps were created in partnership with an LCvista client. LCvista does not have access to RSA to create detailed instructions. The exact steps documented here may differ slightly from the steps that you will need to take within your RSA account.
Log in to your RSA account as an administrator and then follow these steps:
1. Create a new SAML application
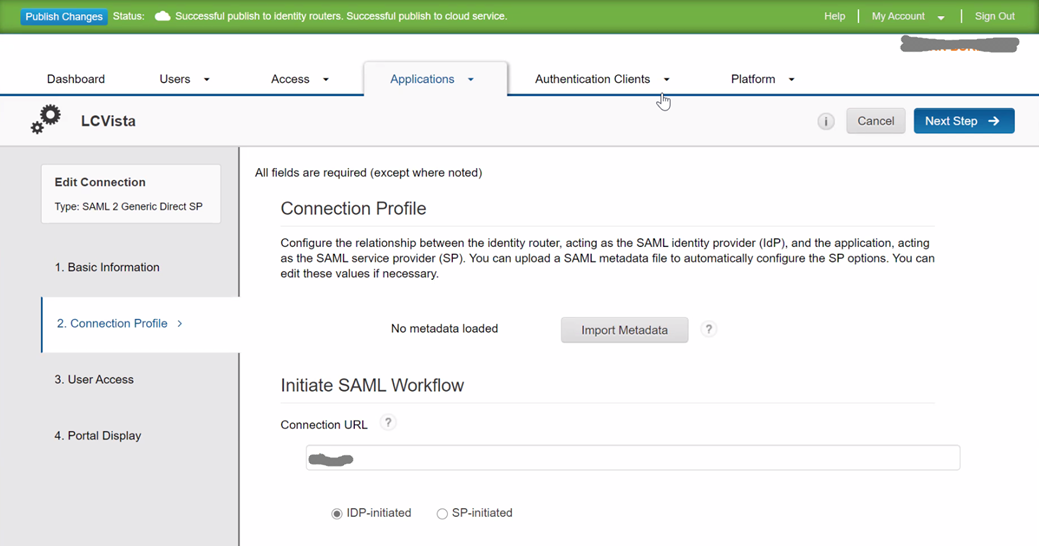
- The Connection URL is an optional field. You can enter your organization slug or leave it blank.
- Select IDP-initiated checkbox.
- Scroll down to the SAML Identity Provider (Issuer) configuration.
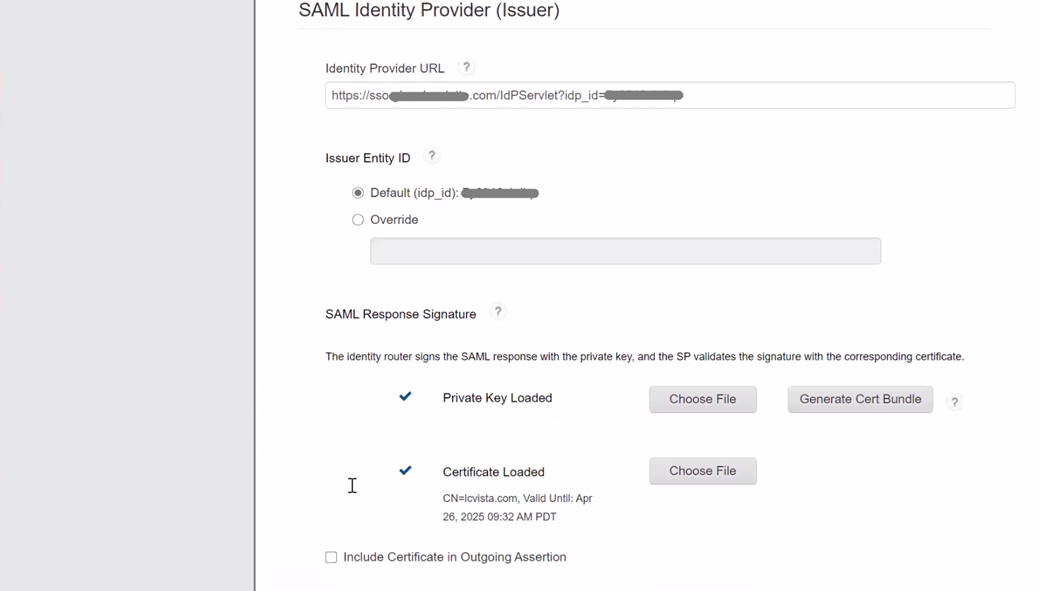
- The Identity Provider URL is auto-generated by RSA and should look like the above screenshot.
- Use the default Issuer Entity ID which is auto-generated.
- Click on Generate Cert Bundle to download certificate to your desktop. Then, upload the Certificate back into RSA.
- Scroll down to Service Provider section.
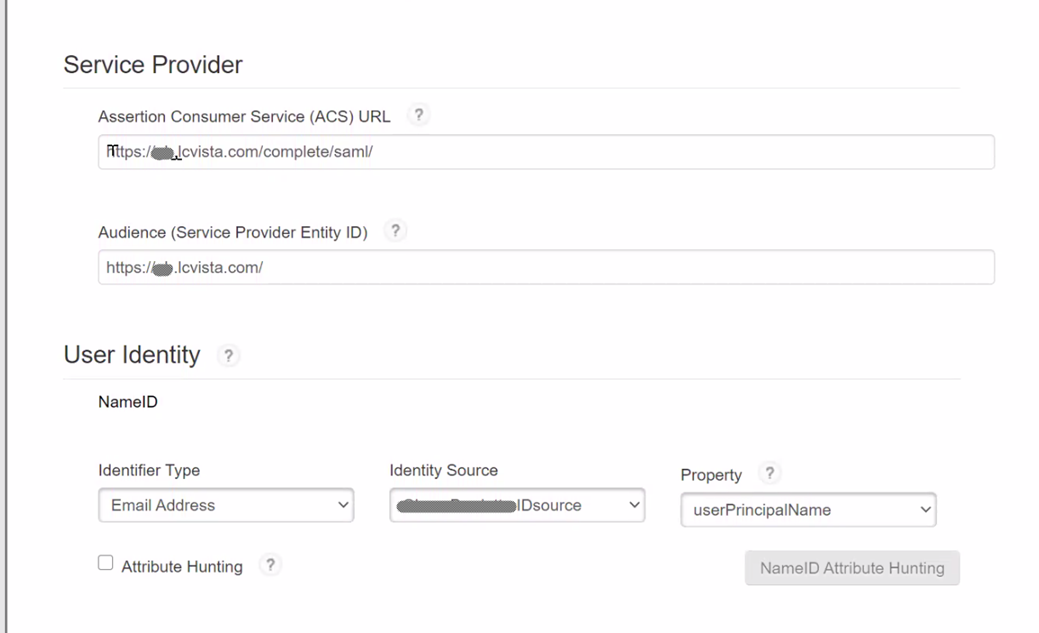
- Assertion Consumer Service (ACS) URL: This will be your LCvista URL followed by /complete/saml/. For example, https://acme.lcvista.com/complete/saml/
- Audience (Service Provider Entity ID): This is your base LCvista URL. For example, https://acme.lcvista.com/
- User Identity: Ensure there is a defined property selected for the Identity Type, Source and Property. The default selections are acceptable as LCvista does not use the NameID in the SSO claims.
- Scroll down to Attribute Extensions. These are the SSO claims that LCvista will have access to and will be able to map to email address and username in LCvista user accounts.
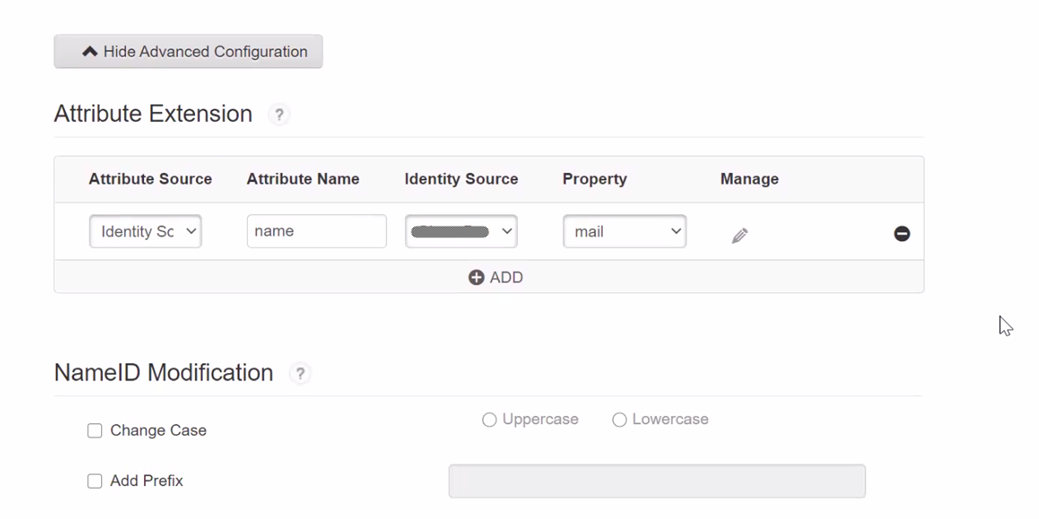
- Add an Attribute Extension for the property that you are using in LCvista for username. Typically this is either an EmployeeID or EmailAddress.
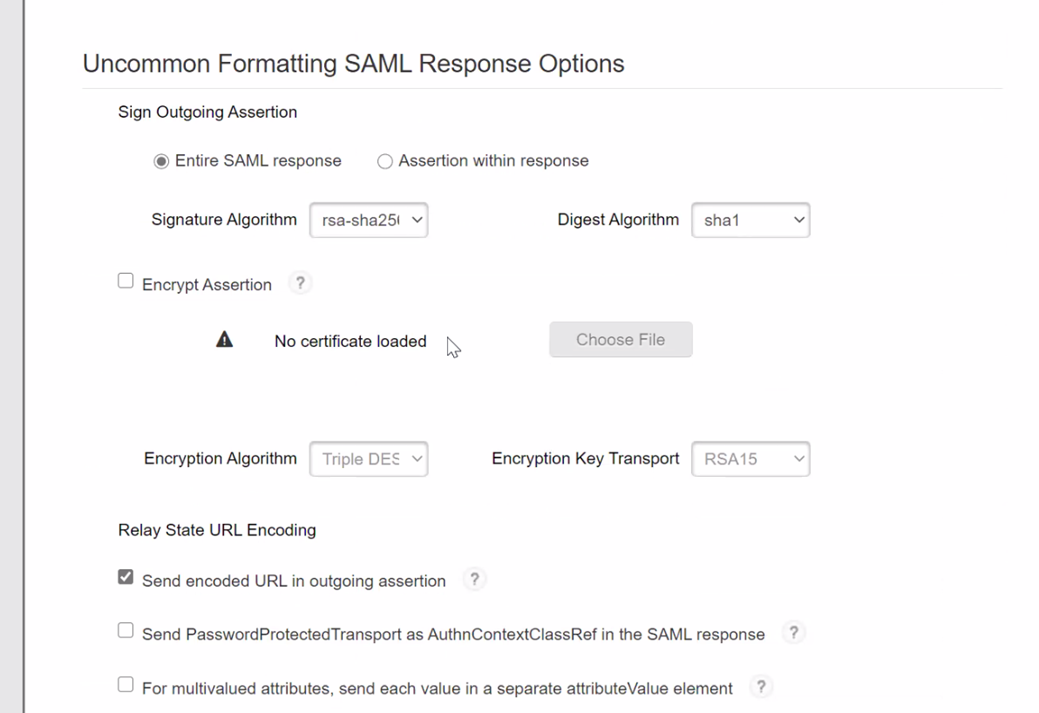
- Scroll down and accept the remaining default settings. These settings should look like the following.
- Download the metadata.xml from the RSA application that was created and enter the following values into LCvista.
2. Update the SAML Configuration in LCvista
- Login to LCvista as an administrator with access to the Organization menu.
- Select Settings within the Organizations menu.
- Select Enable SAML login.
- Copy the following values from RSA into the LCvista SAML Config option:
- Entity ID: The entityID property from the first line of the metadata.xml file.
- URL: The Location property from the SingleSignOnService tag towards bottom of metadata.xml file.
- x509 Certificate: Copy and paste the X509Certificate value from the metadata.xml file.
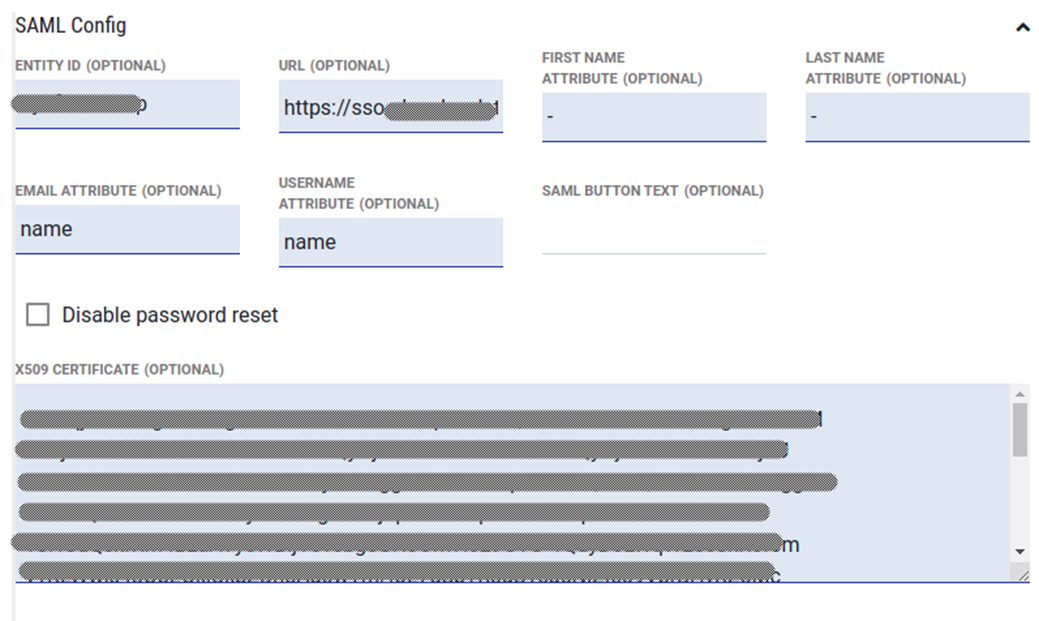
- In LCvista, map the Attribute Names as defined in RSA above:
- First name attribute: firstName
- Last name attribute: lastName
- Email attribute: emailAddress
- Username attribute: Enter the name of the Attribute Name of the RSA Attribute Extension that contains the username value being used.
Note: The only required mapping is Username. All other mappings are optional and can be set to “-” in LCvista. If First name, Last name and Email attributes are mapped, then these values will be updated in LCvista to the value in Okta.
- Click Save on the LCvista Organization page.
3. Test Authentication
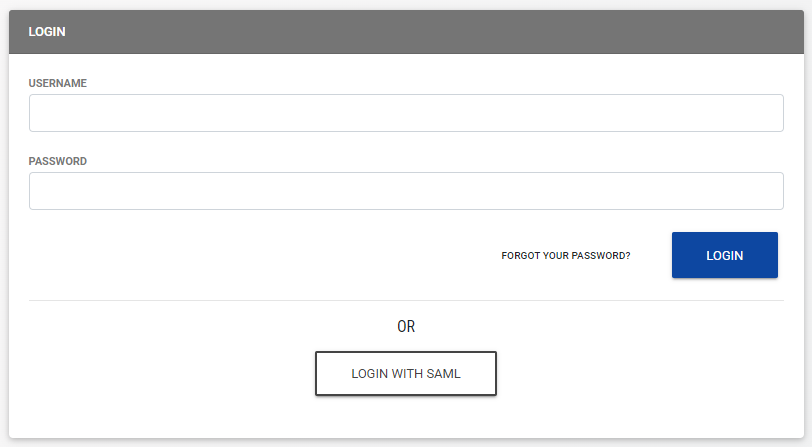
- Navigate to your site's login page at https://<SITE PREFIX>.LCvista.com/<SITE PREFIX>/login/ and select Login with SAML.